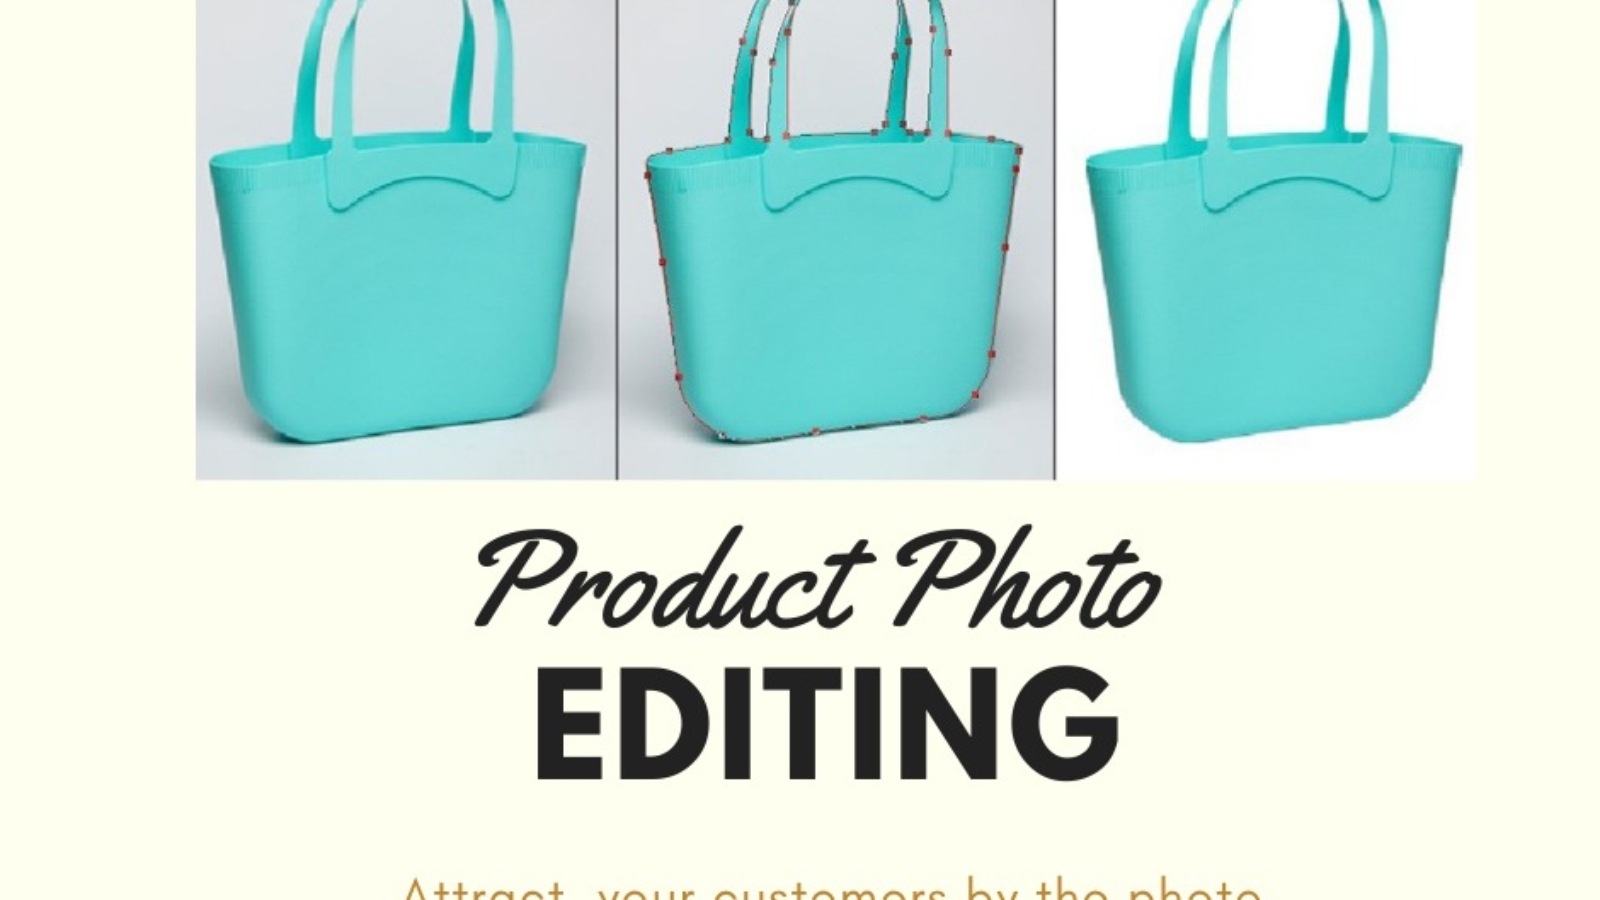
Clipping path & Ghost Mannequin

Get to know about Clipping Path & Ghost Mannequin

A ghostly standard effect gives a product dimension and shows parts of the product that would otherwise be obscured by a mannequin or model in a single shot.

In short, it’s an easy way to give your eCommerce store a professional touch and make it easier for potential customers to visualize their products.

In this article, I’m going to follow the process of how to use clipping path and mannequin editing your photos in Adobe Photoshop to set the strings, capture the right images, and create the ghost’s standard effect.

At the end of this blog post, you’ll know how to capture photos that look like your clothes are floating on an invisible body.

Step 1: Choose a Putty

The first thing you need to do is prepare your studio for ghost mannequin editing and shooting.

First, make sure you have a good quality bead. You can use a model, but a pot will give you the most consistent photos.

Even if you use the same model for all your products, it’s not easy to shoot them in the same position every time.

You also have to remember that for a ghost pot affect you must stitch two shots digitally together.

Start with a penny standing upright.

Mannequins come in all different poses so traditional antique brick-and-mortar stores can blend it in, but when you turn the back of a terracotta outside of its buttocks and twist an arm, your photo looks weird and unnatural.

Also, if your products have sleeves, you’ll need a putty with your arms or you’ll end up with a weird-looking product image. – The torso will have that 3D look but the arms will shake awkwardly.

If you are photographing a shirt or jacket, it helps to have a transparent stand for mounting the axle so that you can see the notch on the rear hem in the first image you take. This will help you align things to Photoshop in the Background removal editing phase.

Step 2: Set up your studio

Set up a white backdrop

This will help ensure that the colors of the clothing are not over-exposed and stay true to the color of each actual product.

The white will reflect the light above your image and keep your camera’s white balance calibration accurate. This makes it much easier to remove the background after Clipping pathor photoshop editing Use a tripod to position your camera in a steady position.

Shoot all your tops at once, then shoot your bottles and finally your ‘full body’ attire to make the process more efficient.

Ideally, you want to position the camera so that the entire frame is filled with white backdrop and product.

Make sure the lighting is light enough to show off your product.

If you are using natural light, check out our post on how to use natural light for product photography for some quick tips. If you are using artificial lighting, review these tips on our blog about building your product photography studio on a budget.

Finally, that mannequin is ready!

Position it at least five feet away from the backdrop so that your final image is very clear and evenly illuminated.

When you put the putty on, make sure you take the time to examine the creases, smudges, and stains.

Although you can always edit it later, it’s easy to keep a wet cloth and iron ready to prevent your problem. Also, keeping an extra pair of hands during the mannequin outfit will help; Adjusting while holding hands and clothes can be a challenge.

Step 3: Take your photo

The first step is simple: take a picture of the front of the dress, with the front of the camera facing the guy The second step is somewhat intriguing.

Unplug the dress, turn your barn so it faces the camera behind it, and then adjust the standard again – but this time the garment needs to be inside.

The reason you do this is that you can get a clear view of the area of the tag (behind the neck or waist) as well as the bottom of the hem.

The Mannequin Effect of Ghosts – Back and Front Take this second photo with the same settings as the first and without removing the camera. This is the reason why you should use a tripod and why an older one works better than some models. Here it should take some time to be precise when rotating properly 180 degrees, otherwise, it would be more difficult to Background removal editing sew half of them together You can follow this same process for any behind-the-scenes look; Just move the sides around. Take a picture of the front of the panel with the product properly around and the interior of the product thoroughly behind.

You will not need to do this if the back of your product is longer / wider than the front of all the spaces, as there will be no distinction between a product’s back shot and the ghost image on the back of the product.

After taking pictures, we need to edit to hold these parts together.

Step 4: Edit to create a ghostly putty effect

Import your photos into your computer and open Photoshop, then follow these steps:

  1. Open the ‘front half’ image in Photoshop.

Make sure your ‘Level’ panel is open; You can see that your image creates a locked background layer.

  1. Unlock the background layer by clicking on the lock next to it and use background background removal tool.

It will be automatically renamed ‘Level 0’. If you haven’t already, get into the habit of naming your layers while working in Photoshop; This is an extra step but as the levels go up, things get a lot easier. You can renew the layer by double-clicking on its name (make sure you click the text itself and not the entire box, otherwise, you will open the ‘Layer Style’ window).

Name this layer ‘front’.

  1. Then right-click the layer and select ‘Duplicate Layer …’

This is a precautionary measure so if you have a mistake, you have a crude version of the original image.

I would suggest giving this layer a “front backup” as it is named.

  1. Now create a new blank layer and name it ‘Background’.

Use the paint bucket tool to fill the layer with white paint. Now, this layer will be the background of the final image.

  1. Reorder your layers so that the ‘front’ is at the top, the background is in the middle, and the ‘front backup’ is at the bottom.

You can do this by clicking on them and dragging them up.

  1. Now. It’s time to remove the background.

Using the Pen Tool will give you the best results, but it doesn’t require a bit of practice to learn how it works.

7.If you are not familiar with this process, check out our blog post on how to remove Photoshop background.

You need to use the pen tool to create a path around the product at your ‘front’ level.

Your. Click ‘Select …’ in your top Photoshop palette and you’ll see ‘marching ants’ around the product.

Ghost Mannequin Effect – Selected Paths

  1. Go to ‘Select’> ‘Reverse’ at the top of your Photoshop window.

‘marching ants’ will be placed around the background and not the product.

Press ‘Delete’ on the keyboard and your product must be white; The original image is hidden behind the white layer. This product, however, is a perfect example of when a ghost needs a mannequin effect because Sylhet looks strangely cut on top.

  1. Open your ‘Back Half’ photo in Photoshop.
  2. Repeat steps 2 and 3 for this image, naming the layers ‘Back’ and ‘Backup Backup’, respectively. You do not need to create any background layers.
  3. Create a path around the product using the pen tool.
  4. Click ‘Select …’ to place ‘marching ants’ around the product.
  5. Press Ctrl + C / Command + C to copy the layer.
  6. Go back to your ‘front half’ and press Control + V / Command + V to capture the layer. Reorder the hit layers so that ‘Back’ is behind “Front” but the white background is behind both
  7. After making sure that ‘Back’ is selected, move it around and resize it (press Ctrl + T / Command + to enable the free transform tool) until it has the best position for it.

Sometimes you could fit it perfectly. You can also use the Lasso tool as use in Clipping Path to erase any bits that will not be visible.

After that select the eraser tool and set it to brush mode with an opacity of 25%. In the neck/cuff/hem area, use this tool to blend the front layer backward by gently and softly removing.

Select the brush tool and set it to black (# 000000), with 15% opacity. Use this tool to create a natural-looking shadow in the front and back areas combined. It makes the piece look more realistic and gives it some dimension.

Make sure you don’t overdo it! A few strokes should make a great many of depth.

Ghost mannequin editing effect with a single top

At last, you’re done. You are now a master of the standard effects of ghosts!

How to make ghost bust for your online store is a great way and we hope this guide has helped you learn the trick.

Photo retouching in USA, UK, Canda, Australia

Best photo lighting equipment

If you are a professional photographer with decades of experience and wants photo retouching, the light number of lighting options today can drive you insane. In this article a list of 10 suggested lighting decorations – which will help photographers work.

Flash light

We’re going to start with a major in Photography: Flash. Also known as strobes, these are great for photographers because they provide a lot of energy, can freeze motion and come in almost any shape. Also, various sync methods now and now have built-in radio receivers, making multi-light setups easy. Photo retouching in USA can help alot. There are plenty of variables to guide your decision, including recycle time, battery vs. AC power, accessories, wireless systems and power, so here are a variety of healthy help to understand.

Canon Speedlight 600 X II-RT

1. Bolt VB-11 bare-bulb flash and accessory kit

At the beginning of your light journey you will want something versatile and with the ability to mount directly to your camera. The Bolt VB-11 is something like a bare-bulb flash. Being an empty bulb means that it can provide the same look with 360 ° coverage on the classic strobe and higher power at 180 W. It benefits greatly from accessories for fixing lighting, all of which are included in flash and accessory kits. Another benefit is that you can easily set it up on a light stand or slide it into your camera’s hot shoe, depending on how you want to use it that day. Want to get started with something easier? Go with the Bolt VD-410 manual flash and read the speedlights.

Bolt VB-11 bare-bulb flash and accessory kit

2. Godox AD200Pro TTL Pocket Flash Kit

Need something like a speedlight that can be carried? How does a bare-bulb design give 360   degree coverage? Get both with Godox AD200Pro TTL Pocket Flash Kit. It has the basic form of a speedlight, albeit without a bounce function, and has the ability to swap heads from a standard rectangular speedlight to a nude-bulb flash. Through flash kit we can also prefer photo retouching in Australia. It’s ample and affordable with a great 200Ws of power, which should be enough, and it runs on a rechargeable Li-ion battery pack, which is good for a full flickering of 500-in-one charge on a single charge. It also features a built-in X wireless system receiver so you can use the X series XTL transmitters to control and trigger the flash remotely. Pairing this enables high-speed sync via TTL. This is a great and versatile lighting choice.

Godox AD200Pro TTL Pocket Flash

3. The Profoto B10 Off-Camera Flash Duo Kit

The latest releases of Profoto include the variant B10 as they move forward with their off-camera flash or OCF. Complete backpack is available in a two light kit, ultra-compact light powered battery that you can hold anywhere. The B10 is rated at 250Ws and has a range of 10-stop power. Look for 1.5-22 second recycling time, 1 / 50,000-second T0.5 flash duration, freeze mode with AirTTL support and you have a seriously good flash to work with. Oh yeah, it has LED modeling with adjustable color temperature and up to 96 CRIs for lateral video shooting. All you need to complete the setup is ProFoto’s highly respected OCF light shaping tool and a Profoto Connect for wireless TTL.

Profoto B10 OCF Flash Duo Kit

4. The Elincrom D-Lite RX4 / 4 Softbox to Go Kit

Another common lighting decoration comes from the well-known and reliable Elinchrome. In general, I understand that the D-Lite RX4 / 4 Softbox to Go Kit is closer to a lot of images when it comes to advanced illumination kits-stands and a few monoliths with softboxes. These strobes are no jerks, there are two heads with 400Ws of power supply. They are powered by standard AC power and can recycle in just 0.35-1.6 seconds depending on power. Also, the D-Lite RX4 has an EL-Skyport receiver built-in, so you can easily trigger the camera from a distance – easily with the included EL-Skyport Transmitter Plus. Completing the kit is a stand, an octagonal softbox and a square softbox. Everything you need

Elinchrome D-Lite RX4 / 4 Softbox to Go Kit

5. Broncero’s Siros L800Ws 2-Light Outdoor Kit 2

When you hear the names of a few brands, you just know that you are getting a solid product. In terms of illumination, one such brand is Broncholler and one of its most recent releases is the Siros L800W Barry-powered Monolith, which we recommend in the 2-light outdoor kit 2. These are among the most powerful battery-powered strobes, 800Ws. Benefits from rating and enhanced color temperature control that repeatedly ensure the ultimate in color consistent with shots. It’s one of the things that makes Broncoler a highlight for professionals, however, if you need some extra speed, there’s a mode that will relieve these protections to provide faster recycling time and a shorter flash duration for at least 1 / 18,000-seconds. Ption smart RES2.2 transmitters open the door for bronchollar HS, with support systems enabling up to 1/8000-second sync speed. And, you can control multiple lights from your tablet or smartphone using the BrownControl app.

Broncholler Siros L800W Battery Powered 2-Light Outdoor Kit 2

6. Dynamite Baja A6-600 Monolite 2-Light Kit

Concerning the rest of our equipment, Dynalite has developed the solid Baja A6-600 Monolith 2-Lite kit. This more affordable system can be very attractive, partly because it offers an impressive 600Ws output, which is more powerful than many of its competitors. These are AC-powered monoliths, but the added power and 300W modeling lighting should appeal to many studio shooters. Also, it comes with a wireless receiver that can operate at distances up to 590 ” when using a standard transmitter. The transmitter also unlocks the high speed sync with a Canon or Nikon camera. It is a very traditional monolith, but it is also a good and quite affordable kit.

Dinlite A6-600 with monolite 2-light kit case

7. ProFoto Pro-10 2400 AirTTL Power Pack

Speedlights and monolights have changed the way photographers work with light, making them more portable and user-friendly. For the ultimate in performance, the Profoto Pro-10 2400 AirTTL is one of the hardest to beat your standard power pack and the best you can get today. Two outlets, maximum 2400Ws, built-in air receiver with TTL support, flash duration that can be less than 1 / 80,000 (!) Seconds and recycling time of just 0.02-0.7 seconds makes this pack an absolute monster you need the best of the best. There is no pre-built kit considering the Super-Pro nature of the Pro-10, so make your own by adding a few ProHide Plus Flash titles to your bag.

ProFoto Pro-10 2400 AirTTL Power Pack

Nowadays, many photographers are spending a healthy portion of their time working on video. Unfortunately, we can’t just do both of the awesome awesome flashes and strobes we talked about, because in order to work with speed you need continuous lighting, Yes, some strobes are packing LEDs that can serve as your video source – the most recent Profoto B 10 Plus comes with dedicated dedicated equipment like the following will be tough to beat.

Zener Spectroloid Essential 500 two-color LED

8. Luxury Viola 2 LED Light Kit

Relatively new Luxury Luxury is killing it lately and one of the latest is the great camera option Viola 2 5 “on-camera RGBAW Lite. The small size and outstanding color controls make it exceptional. Here’s a variable for standard white compatibility. The temperature range is 3000-10000K, but the RGBAW nature of physics enables full 150 tuning. On the other hand, it has the ability to set up to 150 digital gel filters and 10 different special effects. This is a portable, ideal for on-camera lighting as it eliminates the need for other accessories in your bag. In addition to the softbox and expansion filter, this is part of the Orchestra Series, which is available via a mobile app on your smartphone. Can be controlled and can work in sync with any other member of the band.

Luxury Viola 5 ”on-camera RGBAW Lite

9. Litipanels Astra 3 x two-color LED panel

Litipanels was one of the first major brands in the scene when LEDs first entered photographic and cinematic illumination. This was to do with the now ubiquitous 1 x 1 ‘LED panel, now it has been updated to the Astra bi-color LED panel. Using an array of high quality LEDs, LitPanels was able to create fixtures that could produce lightweight, powerful and soft output – all beneficial qualities when considering lighting for photography. If you need any use on the go, they can run on batteries and remain virtually silent. The shape is now classic, and numerous Astra Traveler LED panel kits are available on LitPanels if you want to pick more than one.

Litipanels Astra 3 x two-color LED panel

10. Lowell TotallyDaylight LED 1-Light Kit

Hot lights have popularized Lowell for decades. Now, the company is taking great shots in the LED world by bringing in a new version of one of its most popular lights so far. The Totelight Daylight LED Light is a rebuild, though it ensures that it retains similar features to its predecessor. Photocolors – Photo retouching make your photos extraordinary with use of perfect lightning equipments. It has the equivalent output of 750W tungsten bulbs, a beam angle of ~ 65 ~ which can be expanded to 100to with included diffusers, built-in porch and more angles where it differs from its original native 56০০ in color temperature, quite cool operation LED LED gloves. No need – and battery efficiency, as well as AC power. Here are two lights and a three-light kit, if you wish.